 how-to
Holiday Lights Steep Roof Installation: Safe How-To
Last Updated: October 23, 2026
Quick Summary
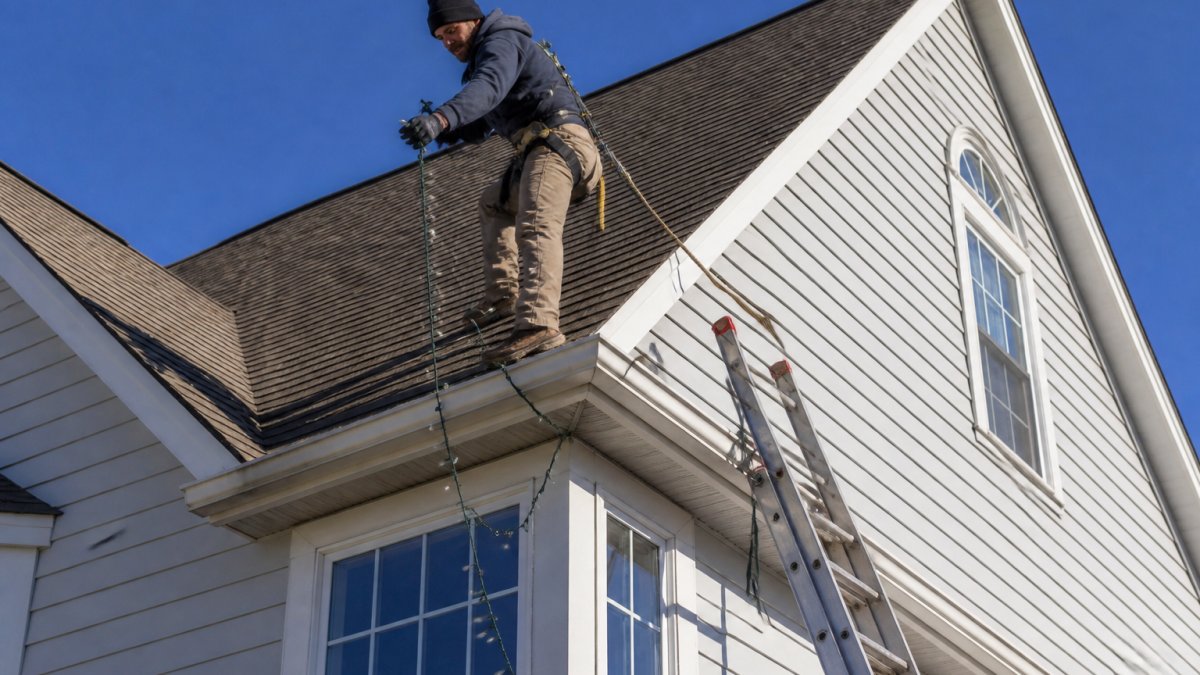
Most steep roofs are not a safe DIY project, since a steep roof is any pitch above roughly 8/12 and walking it without rope and anchor systems invites a fall. Stay off the roof if the pitch is above 8/12, the home is two-story or taller, the day is wet or windy, or you have no anchor point for a harness.
- Treat any pitch above 8/12 as a no-walk roof and stay off it.
- A full-body harness needs a dorsal D-ring, not just a waist belt.
- Never anchor to a vent pipe, gutter, or satellite mount.
- Set the ladder base one foot out for every four feet of height.
- A clip-setting pole lets you set peak clips from a ladder instead of straddling the ridge.
Table of Contents
- Is It Safe to Install Holiday Lights on a Steep Roof Yourself?
- Steep Roof Christmas Light Installation Tools and Gear
- How to Attach Christmas Lights to a Roof Peak
- How to Hang Christmas Lights Without Damaging Your Roof
- Christmas Light Clips for Metal Roofs and Other Roofing Materials
- Extension Cords, Power Load, and Weather Planning
- When to Call a Professional Installer
- Frequently Asked Questions
Is It Safe to Install Holiday Lights on a Steep Roof Yourself?
Holiday lights steep roof installation is risky work, and the honest answer is that most steep roofs are not a safe DIY project.
At Dramatic Outdoor Lighting, we have over ten years of experience. Homeowners often underestimate the pitch from the ground.
Here is the go/no-go test we use before anyone leaves the ground:
- Pitch above 8/12? Treat it as a no-walk roof.
- Two-story or taller? A standard ladder no longer reaches safely.
- Wet, frosty, or windy day? Postpone. Traction disappears fast.
- No anchor point for a harness? Do not climb.
If you answered yes to any of these, stay off the roof. The OSHA guide to fall protection in construction is blunt about it: falls are the leading cause of death in construction, and a residential roof offers zero margin for error.
Steep Roof Christmas Light Installation Tools and Gear
The right steep roof Christmas light installation tools make the difference between a controlled job and a dangerous one. Build your kit before you touch a single strand, and treat fall protection as equipment, not an afterthought.
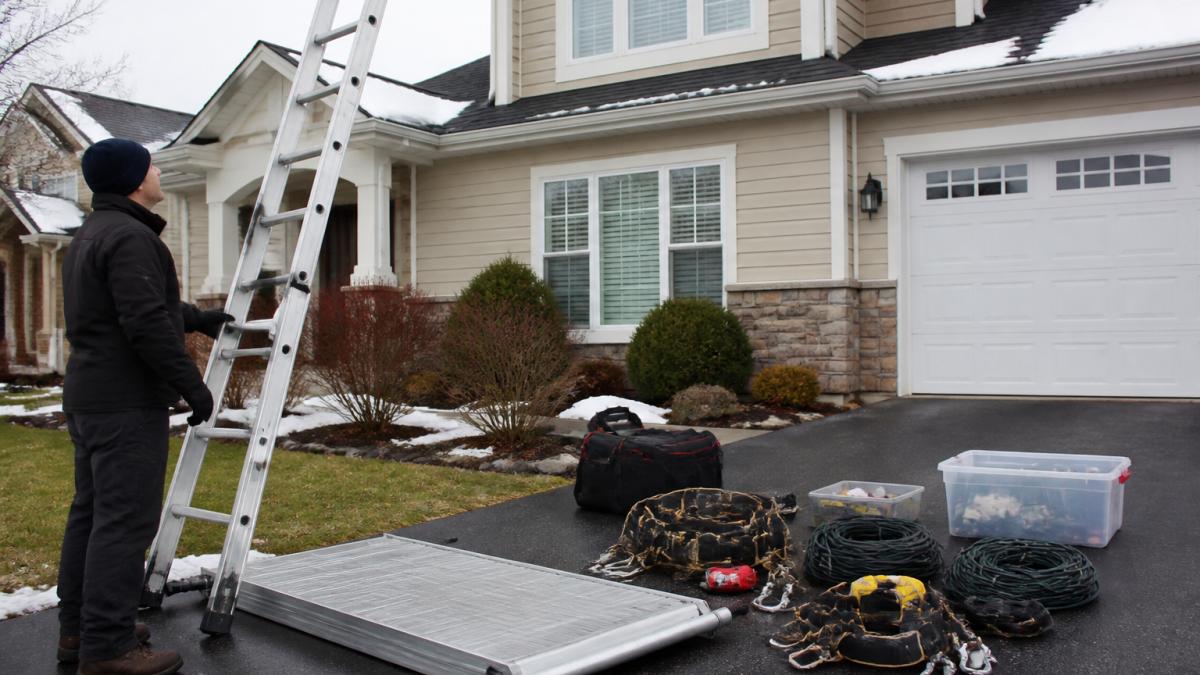
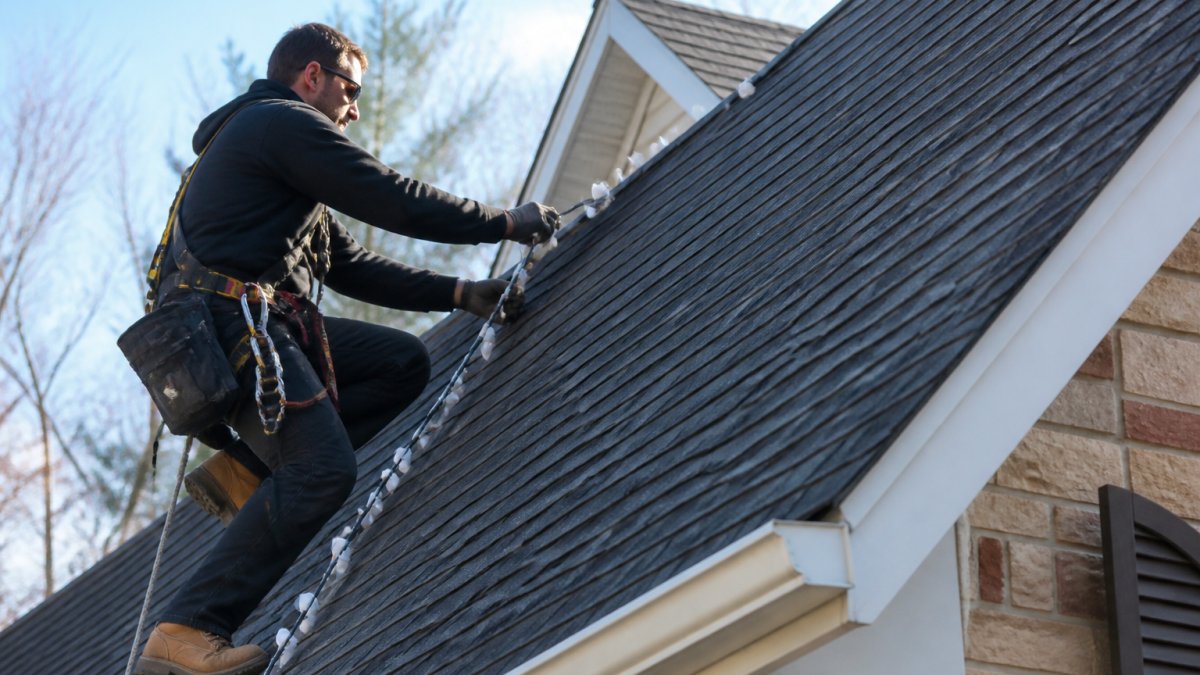
Fall-protection system (required above a single story):
- Full-body harness with a dorsal D-ring, sized to fit and adjusted so the chest strap sits high. A waist belt alone is not fall protection.
- Roof anchor rated for fall arrest and installed per the manufacturer, either a permanent anchor nailed to the truss structure or a temporary strap anchor wrapped around a solid chimney or ridge. Never anchor to a vent pipe, gutter, or satellite mount.
- Shock-absorbing lanyard or a self-retracting lifeline. A shock absorber limits arrest force; a self-retracting lifeline keeps slack short so a fall is a few inches, not several feet.
- Rope and roof jacks for positioning on pitches above 8/12. A roof jack holds a plank that gives your feet a flat surface and keeps your weight off the shingles.
Access and stabilization:
- Extension ladder rated for your working height, the ladder's duty rating (Type I, IA, or IAA) should exceed your weight plus gear. Set the base one foot out for every four feet of height and tie it off at the top.
- Ladder standoff stabilizer so the ladder clears the gutter and rests against the wall, not the gutter edge.
- Ladder leveler if the ground is sloped; never block a ladder foot with a brick or board.
- Roof platform or traction board to spread weight and give grip on the slope.
Installation gear:
- Light clips rated for your roofing material (more on this below)
- Outdoor-rated extension cords sized to the load
- A ground tester for every strand before it goes up
- A clip-setting pole so the peak clips can be set from a ladder instead of straddling the ridge
Setup checklist before you climb:
- Test every strand on the ground and mark dead ones.
- Lay out cords and clips in installation order.
- Set and tie off the ladder; confirm the standoff clears the gutter.
- Inspect the harness, anchor, and lanyard for wear and confirm the anchor point.
- Check the forecast, postpone in wind, rain, frost, or ice.
Skip the fall-protection system and you are relying on shoe rubber against cold shingles. That is not a plan.
How to Attach Christmas Lights to a Roof Peak
Attaching lights to a roof peak starts with choosing clips that grip the shingle edge or ridge without nails. Never drive fasteners through shingles to hang lights. But the peak is the hardest reach, and on a steep roof the safest attachment method is often the one that keeps you off the roof entirely.
Ground-based attachment (the lower-risk alternative):
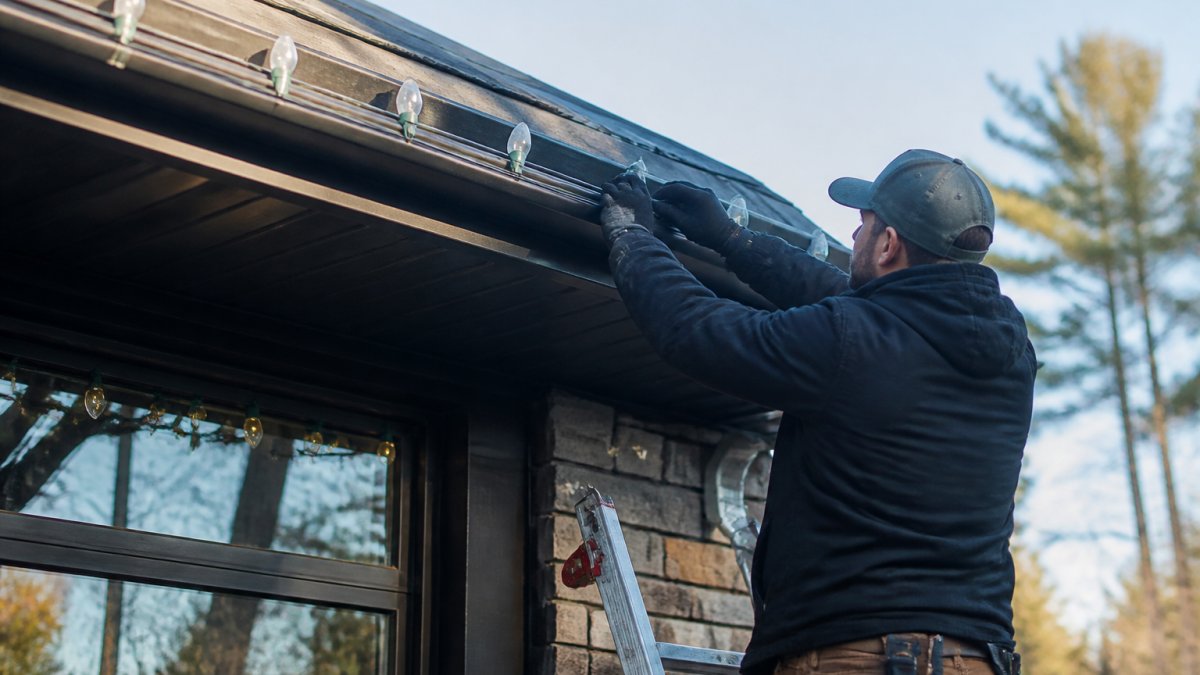
- Clip-setting pole, a telescoping pole with a clip holder lets you set ridge and eave clips from a ladder or from the ground, so you never straddle the peak.
- Pole-mounted light hooks, extendable poles with hooks at the tip hang strands along the eave and gutter line without roof access.
- Gutter clips on a pole, slide clips onto the gutter lip from below, then set the strand with the pole.
- Magnetic pole clips for flat metal panels, set and reposition from the ground.
For most steep roofs, a pole plus gutter clips covers the eave line, and only the ridge needs a ladder. That cuts roof time to minutes instead of hours.
If you do go up, here is the sequence we follow:
- Test every strand on the ground first. One dead bulb wastes a whole climb.
- Map your route from the power source before climbing, so you know where cords land.
- Clip along the ridge and eaves using ridge clips or all-in-one clips that slide under the shingle edge.
- Keep tension light. Pulling strands tight stresses both the clips and the shingles.
- Leave a drip loop where cords meet the outlet so water runs off, not in.
Match the attachment to the roof material:
- Asphalt shingle: all-in-one shingle-edge clip slid under the tab; never nail or staple.
- Standing-seam metal: seam clamp that grips the seam without scratching the finish; adhesive hooks fail in cold.
- Flat metal panel: magnetic clip rated for cold; screws void the panel finish.
- Tile: tile hook or spring clip that hooks the tile edge; weighted clips slide in wind.
- Wood shake: gutter clip or eave hook; anything driven into shake opens a leak path.
The peak is the hardest reach. A clip-setting pole with a clip attachment lets you set the top clips from a ladder instead of straddling the ridge, and on a steep roof, that is the difference between a controlled job and a fall.
How to Hang Christmas Lights Without Damaging Your Roof
Learning how to hang Christmas lights without damaging your roof comes down to one rule: attach to the edge, never through the surface. Every nail or staple you drive into a shingle opens a path for water.
Roof damage from lights usually shows up months later as a stain on the ceiling. The culprits are predictable:
- Staples and nails through shingles
- Adhesive hooks that tear the granule surface when removed
- Strands pulled tight that abrade the shingle edge in wind
- Clips left on all year, trapping moisture
Use reusable hooks and clips designed to grip the shingle edge or slide under it. They come off clean in January and go back up next season. As the Asphalt Roofing Manufacturers Association notes, keeping the roof surface intact is central to its weatherproofing, and every puncture is a future leak.
Christmas Light Clips for Metal Roofs and Other Roofing Materials
Christmas light clips for metal roofs are a different animal from shingle clips. Metal standing-seam roofs need clamps that grip the seam without scratching the finish, while flat metal panels need magnetic or adhesive-backed options rated for cold.
Match the clip to the material:
| Roofing Material | Best Clip Type | Avoid |
|---|---|---|
| Asphalt shingle | All-in-one shingle-edge clip | Nails, staples |
| Standing-seam metal | Seam clamp | Adhesive hooks |
| Flat metal panel | Magnetic clip | Screws |
| Tile | Tile hook or spring clip | Weighted clips |
| Wood shake | Gutter clip or eave hook | Anything driven in |
The wrong clip either fails in wind or damages the finish. A seam clamp on standing-seam metal is the only option that holds without piercing.
Extension Cords, Power Load, and Weather Planning
Power and weather planning is where DIY setups quietly fail. Add up the wattage on each circuit before you plug in, and keep total load under the circuit's rating.
A few practical rules:
- Use outdoor-rated cords only, with GFCI protection at the outlet.
- Do not daisy-chain more than the manufacturer allows on one run.
- Keep connections off the ground and facing down.
- Check the forecast and tie down loose strands before wind and ice arrive.
Cold snaps and ice are the real test. Cords that work in November can crack in a January freeze, so inspect them again mid-season.
When to Call a Professional Installer
Call a professional installer when the roof is steep, tall, or complex, or when you simply cannot guarantee a safe setup. The math is simple: a fall costs far more than any installation.
A pro brings fall protection, the right clips for your material, and insurance that covers the work. Before you hire, ask two questions. You can read more about what an installation service warranty covers before you sign.
Cost is the other factor. Our guide to professional Christmas light installation cost walks through what drives the number. If you are still weighing the DIY route on a steep roof, read our deeper guide on hanging lights on steep roofs safely first.
At Dramatic Outdoor Lighting, our white-glove service includes custom lighting design, expert installation, 24-hour maintenance for holiday lighting, and full removal and storage, so a dead strand in January is our problem, not yours.
Frequently Asked Questions
How do you hang Christmas lights on a steep roof without falling?
Start with a go/no-go check: if the roof pitch is steeper than about 6/12, or the roofline is two stories up, stay off the roof. Work from the ground with a pole and gutter clips, or from a stable ladder positioned on level ground with a spotter. Roofs at 16/12 pitch or steeper should be handled by a professional with fall protection. Never walk a steep roof in wet or icy conditions, and never lean out from a ladder to reach a peak.
What tools help with installing lights on a steep roof?
A tall extension ladder rated for your weight, a ladder stabilizer, a roof platform or traction aid, a pole with a clip attachment, and light clips matched to your roofing material cover most jobs. Add outdoor-rated extension cords, a circuit tester, and a ground-level layout plan. Steep roof Christmas light installation tools matter less than placement: a ladder set on firm, level ground at the correct angle prevents more accidents than any gadget.
Do Christmas light clips work on metal roofs?
Yes, but the clip type has to match the metal panel. Magnetic clips hold on standing-seam and some steel panels, while adhesive-backed clips work on smooth metal but need a clean, dry surface and mild temperatures to bond. Never drill into a metal roof. Christmas light clips for metal roofs should grip the seam or edge, not the flat panel, so wind does not peel them loose.
How do you attach Christmas lights to a roof peak?
Use a pole with a clip attachment to reach the peak from the ground or a stable ladder, or use peak clips that hook over the ridge without fasteners. If you must go up, work only on a low-pitch roof with fall protection and a spotter. Test the strand on the ground first, then clip it so the cord hangs with slack for wind. Never nail or staple into shingles at the peak.
Steep roofs punish shortcuts, and the safest path is often to hand the climb to someone equipped for it. If your roofline is tall, pitched, or tricky, let Dramatic Outdoor Lighting handle the design, installation, maintenance, and storage from start to finish. Get started with Dramatic Outdoor Lighting and enjoy a stress-free holiday season with lights that stay put and stay on. Request a free consultation today.